American Express @ Work1 Reporting
User Guide
This guide provides an overview of @ Work Reporting, the self-service reporting platform for clients of American Express Global Commercial Payments. This guide covers navigation of the tool and the setup process for Standard and Customised reports. For information about the Standard and Customised formats, as well as the specific report templates we offer, please refer to the @ Work Reporting Guide, which can be found under Reporting Help on the @ Work Reporting home page.
For more detailed instructions we offer a concise, self-guided training module as well as live instructor-led online training sessions. Information can be found by visiting Reporting Help on the @ Work Reporting home page.
Getting Started
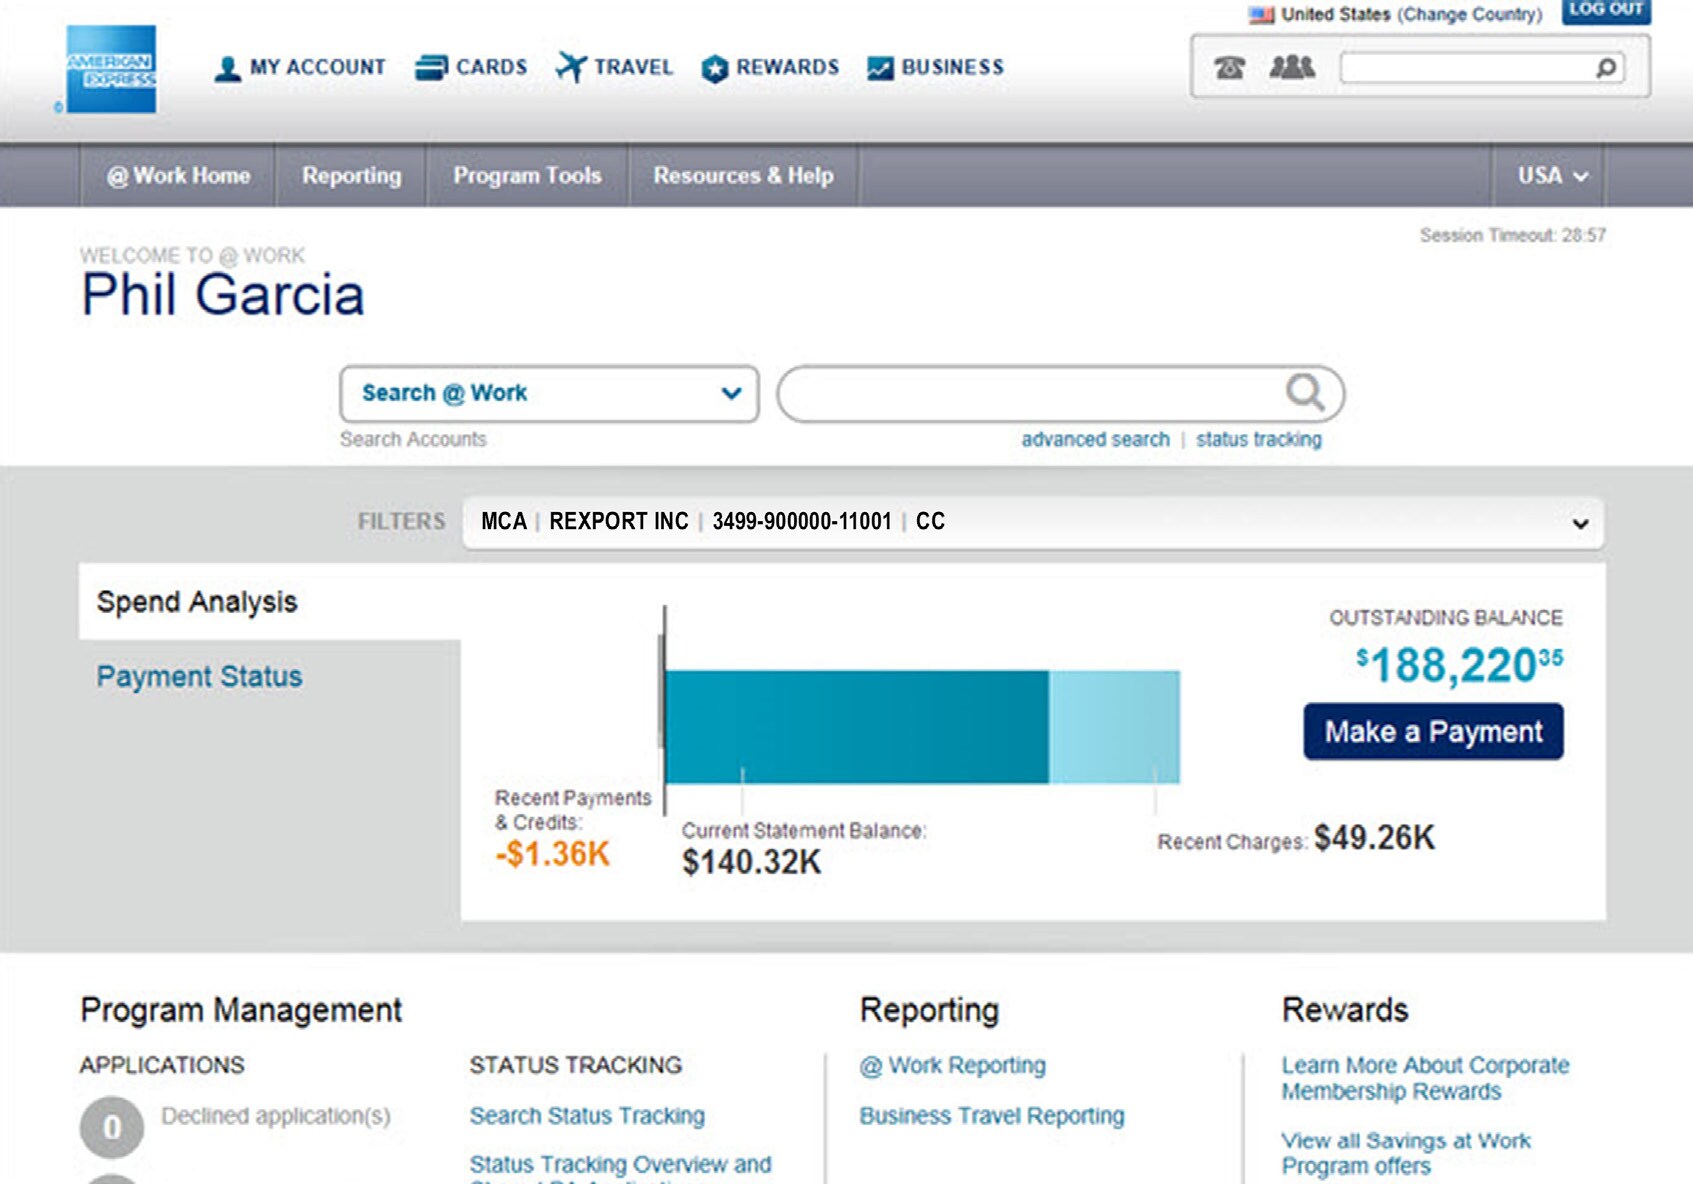
@ Work Reporting gives you the power and flexibility to turn information into actionable insights that work for you. When you have a comprehensive picture of your spending, you can create real impacts for your business.
LOG ON: Access American Express @ Work by visiting the American Express Home Page at www.americanexpress.com and select the @ Work Reporting link.
The @ Work Reporting tool has an easy to use layout and a convenient left-hand navigation menu.
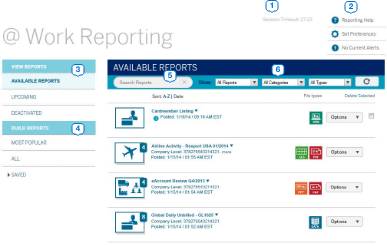
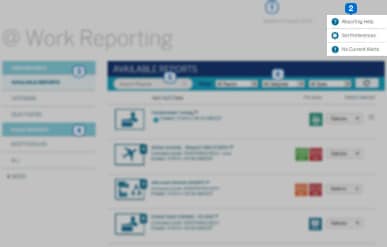
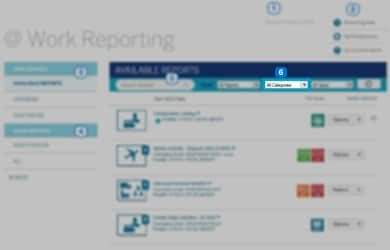
The Session Timer tells you how many minutes remain in your current session. To refresh this timer perform any action on the current page.
The Reporting Help link provides you with help and best practice documents.
Set Preferences for your @ Work Reporting experience such as your timezone, language, default currency, and email notifications.
Toggle the display of Alert Messages on this screen, notifying you of any system issues, scheduled upgrades, or maintenance.
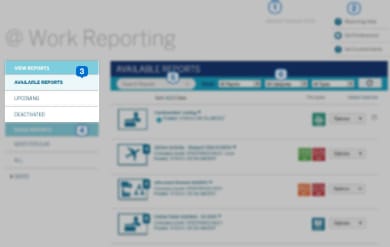
VIEW REPORTS -
Available: All reports available for viewing.
Upcoming: A complete list of your scheduled reports.
Deactivated: A list of schedules and related reports that have been deactivated.
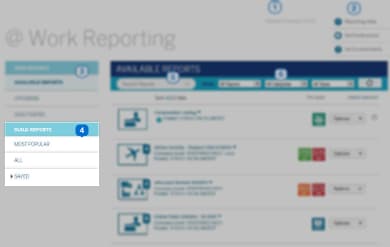
BUILD REPORTS -
Most Popular: A list of the most commonly used report templates to support your programs.
All: The entire list of report templates available for your use. (Additional reports may be enableddepending on your particular program.)
Saved: Your personally saved Customised report templates.
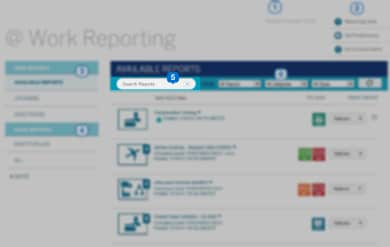
Search for an item in the selected page.
Filter the items in the selected view using helpful options.
View Reports: Available Reports
The Available Reports section allows you to view, open, and manage your previously run reports.

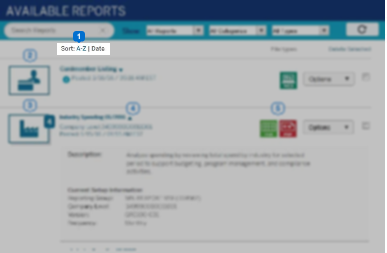
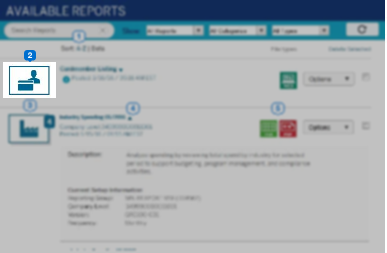
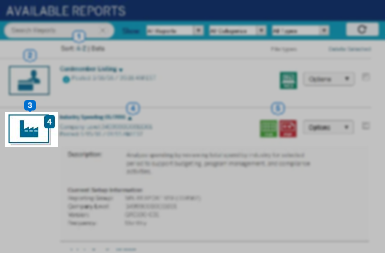
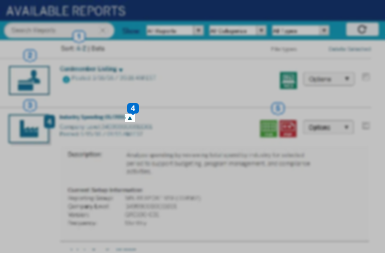
Sort the reports in the selected view alphabetically or by date.
Visual thumbnails depict the Type of report (i.e. Airplane for Airline Reports).
The number on the thumbnail represents how many reports are in the grouping.
Click the arrow next to the report name to reveal setup information and previous iterations of the same report.
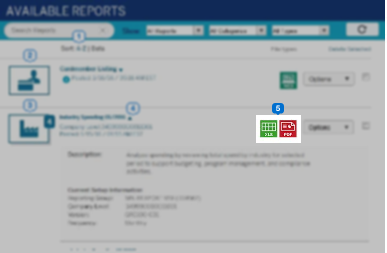
Click on the icons to open/download your report. The Icons depict the type of report and its format.
View Reports: Upcoming Schedules
The Upcoming section displays a listing of all scheduled reports.
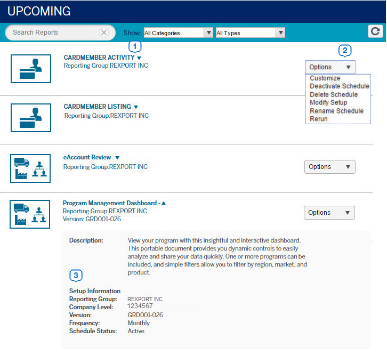
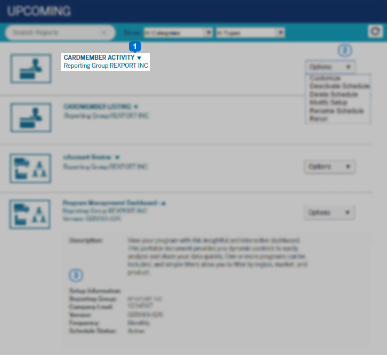
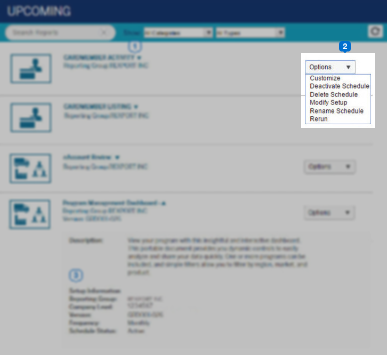
View the report title and use the arrow to reveal more information.
Use the Options button to manage your schedule settings, request reruns, or deactivate/delete the schedule.
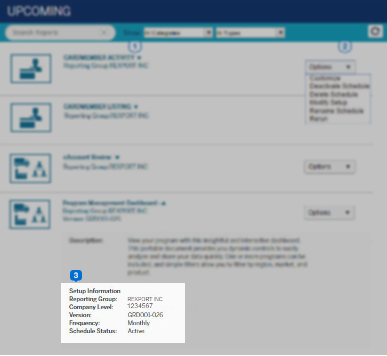
View current Setup Information.
View Reports: Deactivated Schedules
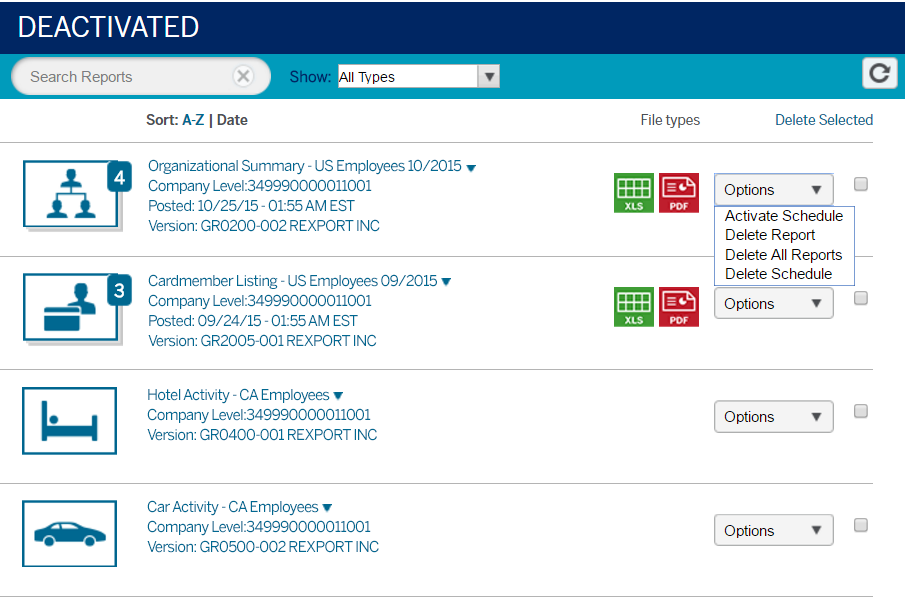
The Deactivated section displays any report schedules that have been deactivated. Deactivation of a schedule means the report will no longer be generated automatically at the scheduled frequency. Any reports that were generated before the schedule was deactivated will still be available via the corresponding File Type icon. Reports that have not been viewed or downloaded in a 120-day period are automatically deactivated.
The Options menu allows you to reactivate or fully delete report schedules, as well as delete individual reports that ran under those schedules.
Build Reports: Most Popular
Build Reports: All
This view displays all the reports that apply to your organisation’s program with American Express. Refer to the Report Guide under Reporting Help for details about all of our reports.
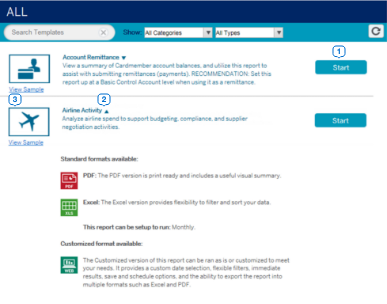
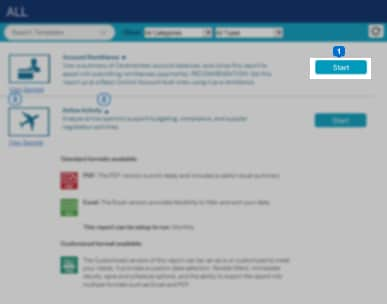
Click the Start button to begin the report setup process (for reports that are available in both Standard and Customised formats, you will be prompted to choose your format on the screen that follows).
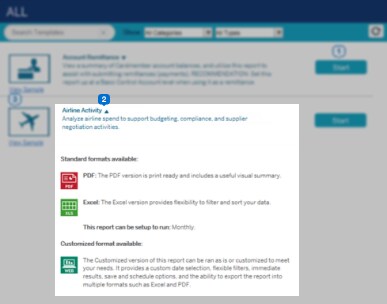
Click on the report name for information about available formats.
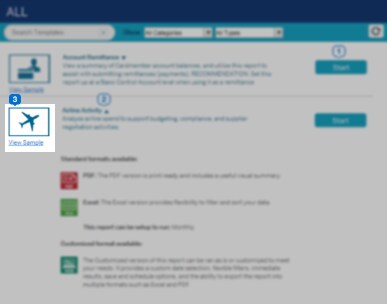
Find more information and screenshots of the available formats via the View Sample link.
Report Builder: Create a Standard Report
Once you have chosen to run a Standard report, follow the onscreen steps to set up the report to run automatically. Keep in mind that Standard reports will not run immediately; timing is based on the of the report as well as your program’s billing cycle. For example, monthly reports run every month after your program’s cycle ends. Once a report has run it will be posted to your Available Reports list and you will receive a notification.
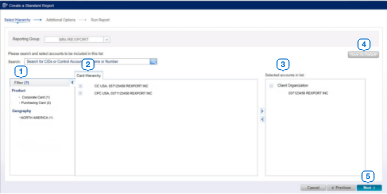
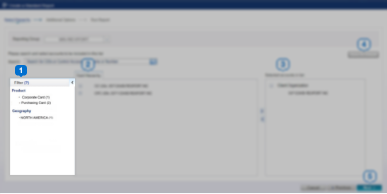
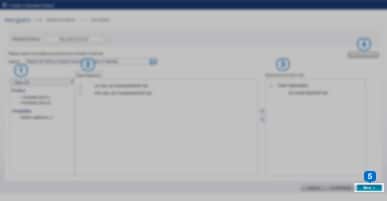
Use the Filter when searching for specific types of program hierarchies.
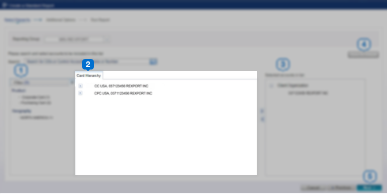
Select the desired Hierarchy or hierarchies and click the right arrow icon to move your selection to the right side of the screen.
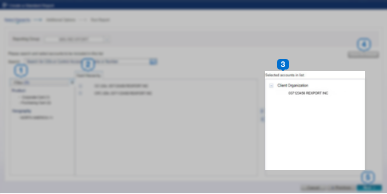
Your selection will appear here.
To save this hierarchy selection for future reports,click the Save as Default button.
Click Next to continue with the setup process.
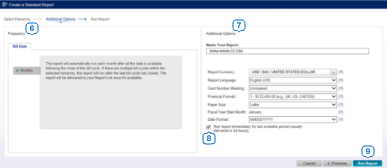
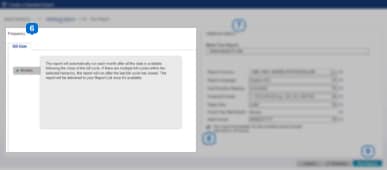
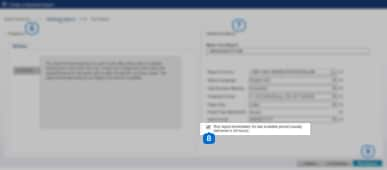
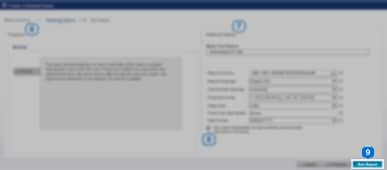
Set the Frequency of the report in the bill date section. In this example, Monthly is the only option, however some Standard reports let you choose between monthly, quarterly, etc.
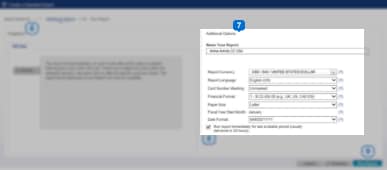
Additional Options allow you to rename your report, set currency, language, format, and more.
Recommendation: Update the name of your report for easier identification when it appears on the Available Reports page.
Check this box to request a report from the previous available billing period. All subsequent reports will be delivered to your Report List after each billing cycle.
Once you have selected your options, click Run Report.
Standard Report Results
Standard reports can be viewed in either PDF or Excel formats. The PDF format offers on-screen insights highlighting and summarising key data. The Excel format offers additional data elements.
PDF Version

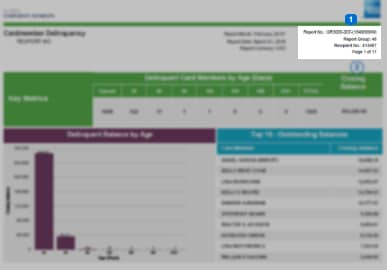
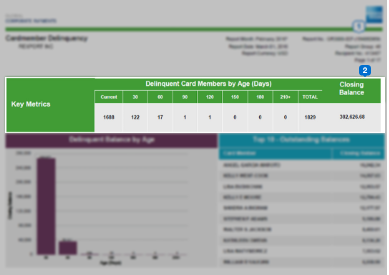
Report name, month, currency and other report-specific details.
Summary level data highlighting key insights.
Excel Version
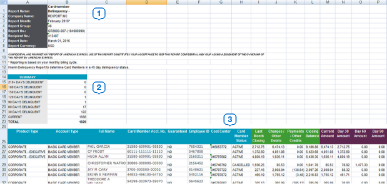
Report name, report month, Reporting Group and other report-specific details.
A summary of the report.
Use the Excel version to manipulate, sort and analyse data.
eAccount Review
Available in PDF or PowerPoint, this unique Standard Report provides a summary of your program including key metrics and meaningful insights into your company’s spend.
› Multiple pages with data and insights tailored to your program.
› Charts and graphs provide visual representation of overall program spend.
› Key insights to help you make important,informed decisions.
Note: The first page of the PDF provides key insights and the following pages provide details.Use the PDF version to gain insight into your program, print this version for a portable summary of key metrics.
Report Builder: Create a Customised Report
Customised reports run immediately and provide useful filter and additional data element options. Your results will be delivered to your browser where you can perform additional filtering and export to various formats including PDF and Excel. You can also save your Customised report templates and set them to run on a schedule if desired.
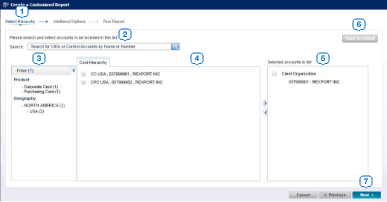
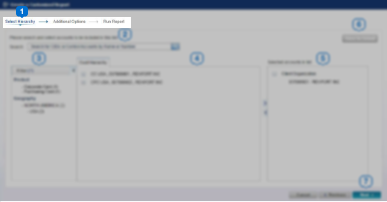
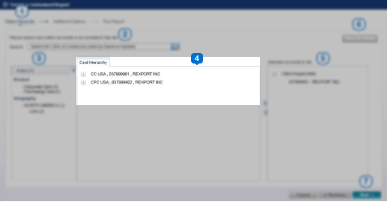
The breadcrumb trail will show where you are in the setup process.
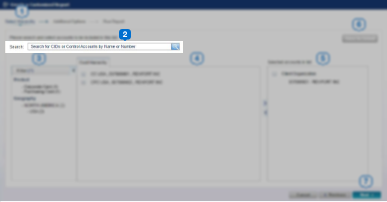
Enter a program hierarchy name or number in the Search field to find the desired hierarchy for your report.
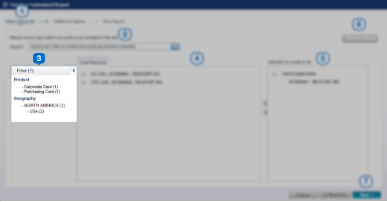
Use the Filter when searching for specific types of program hierarchies.
Select the desired hierarchy or hierarchies and click the right arrow icon to move your selection to the right side of the screen. Hold the shift or control keys to select multiple items.
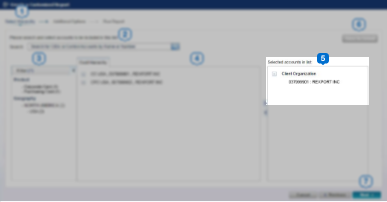
Your selection will appear here.
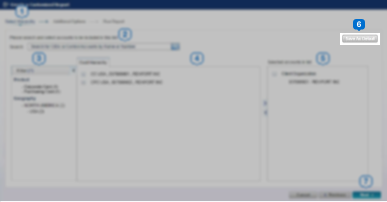
To save this hierarchy selection for future reports click the Save As Default button.
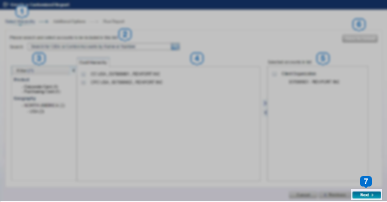
Click Next to continue with the setup process.
Report Builder: Create a Customised Report – Additional Options
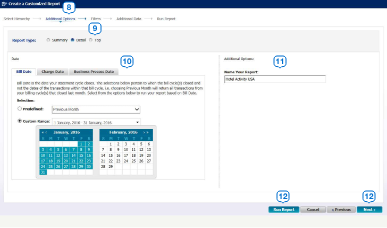
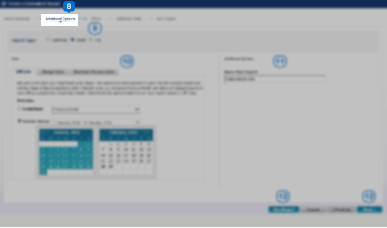

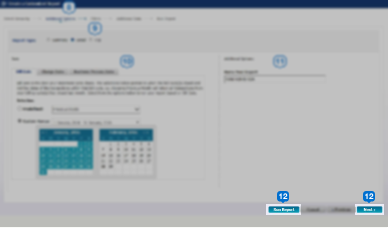
Follow the breadcrumb trail to complete the steps to build your report. The Additional Options step must be filled out prior to continuing.
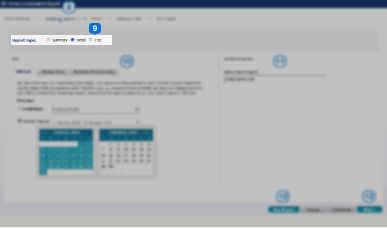
Some customised reports provide several views. These views may impact the date, filters, and additional data options in the selection process.
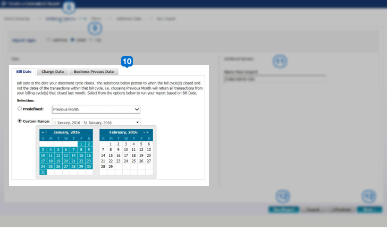
Choose the timeframe for your report. Depending on the template, you may see several different date options, including Bill Date, Charge Date, and Business Process Date. You can select a custom date range or choose a predefined date option. If you plan to set your report to run on a schedule, use a predefined date option. For example, if you select a Bill Date = Previous Month, the report will return data for any cycle(s) that closed during the previous calendar month.
We recommend that you update the name of your report for easier identification when it appears on the Available Reports page. (e.g. Hotel Activity for Western Division)
Click Next to further customise your report with Filters and Additional Data elements, or click Run Report to use the default selections.
Report Builder: Create a Customised Report – Filters
Filters are optional and allow you to narrow your results prior to running the report.


Use the Quick Filters for the most common filtering options.
Clear All Selections button to remove all selections in this step and return to the default selections.
Use the Advanced Filter selections to choose more granular options. Examples of popular choices are provided in the Appendix at the end of this guide.
Click Next to further customise your report with Additional Data elements, or click Run Report to use the default selections.
Report Builder: Create a Customised Report — Additional Data
Each Customised report template comes with default data elements (i.e. columns) pre-selected, however you can add, remove, or reorder them as needed.
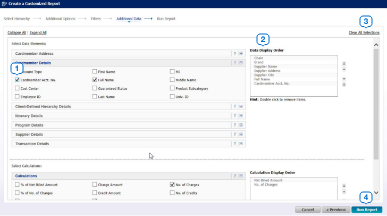
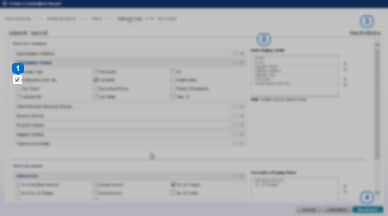
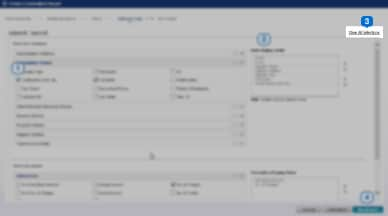
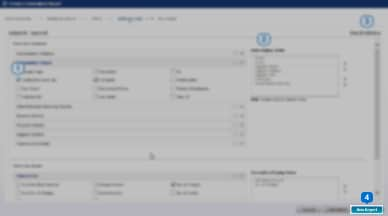
Use the check boxes to add or remove elements from your reports.
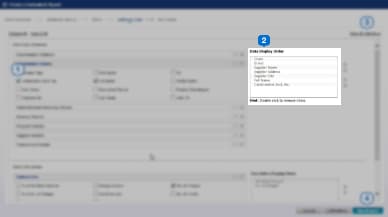
The Data Display Order and Calculation Display Order boxes show you the order the columns will appear on your report. Use the arrows to the right of the boxes to change your column order.
Use the Clear All Selections button to remove all selections.
Once you have made your selections, click Run Report.
Report Viewer: View Your Customised Report Results
Report Results will be displayed in an on-screen Report Viewer. You can manipulate your results on screen or export them to your computer.
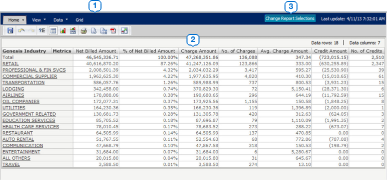
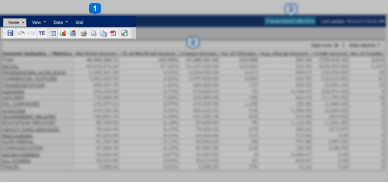
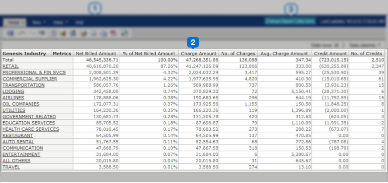
Use the Navigation Bars to perform simple tasks such as: sort columns, display in graph view, and export your report. Hover over each icon to reveal tool tip text.
View your report results in an easy-to read format. Click on column headers to sort columns, right click on column headers to reveal advanced functionality. Click on hyperlinked data elements to drill further into your report data.
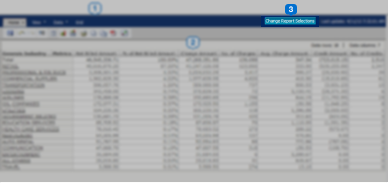
Use the Change Report Selections button to re-prompt your report and make changes to your report criteria.
Appendix: Understanding the Prompts and Filters

FILTER STYLES -
Many of the optional filters on the Filters tab of a report template require an item to be selected prior to adding any filter values. Select the option from the Available box and use the arrows between the boxes to select your choice.
Example: Filtering by a Card Member Account Number
1. Click Card Member Acct. No. from Available box, click on right arrow to select it.
2. Click on Value link, enter value into box, click OK.

3. Click on ID1 link, then select DISPLAY_REPORT.
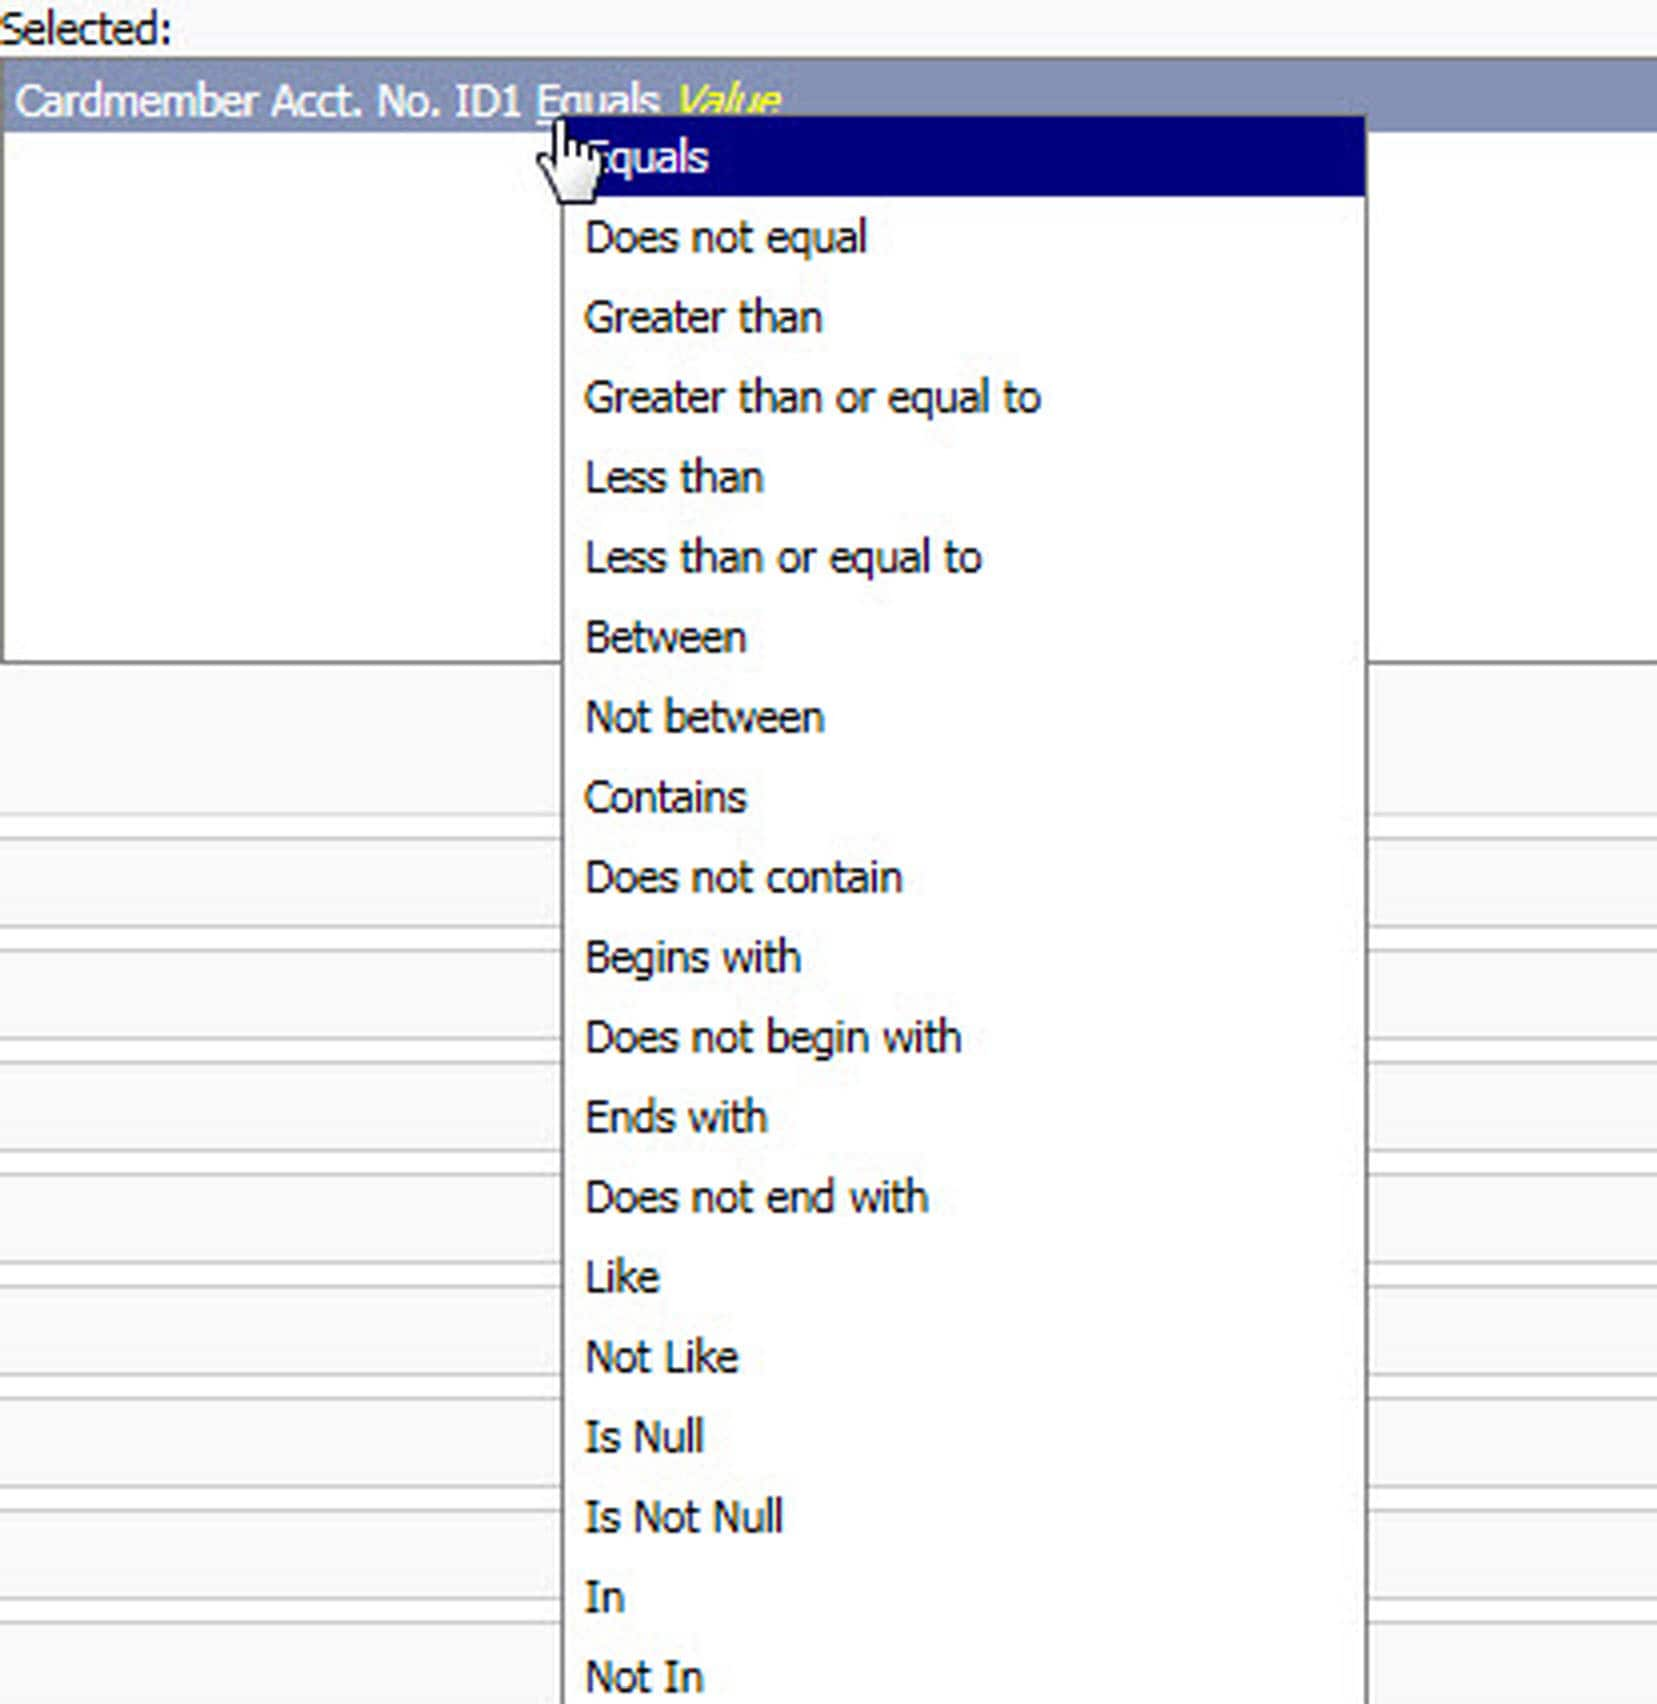
4. Click on Equals to change selection logic (if needed).

Some filters require you to select the specific value(s) you’re seeking. Expand the selections using the +. Once you have made your selection use the arrows between the boxes to select your choice.
COMMON FILTER COMBINATIONS

Tip: When selecting multiple values on a single filter, always select the “Any selection” radio button option if it appears. This will ensure the correct logic is applied.
Terms & Conditions
1Use of American Express @ Work ® is restricted to employees, contractors and/or agents that the Company, and its representatives designate for the sole purpose of performing online account queries and maintenance, including accessing and/or creating reports relating to the Company's American Express® Corporate Card programs. @ Work is available to all companies with an American Express Corporate Card program.
Enrollment is required. To enroll in @ Work please contact your American Express Representative or click here.
© 2020 American Express.
Additional Resources
Online Payment Allocations
Corporate Online Payment Allocation
Get an overview of Corporate Online Payment Allocation benefits along with a link to the guided tour.
Program Administrator Alerts
Discover the various alerts you can customise in your Card program.


